Floor plans - Create new floor plan |
  
|
Floor plans - Create new floor plan |
|
1.To create a new floor plan, we first click on the icon ![]() .
.
2.Here we give a description to the floor plan, for example:
![]()
Next we click on top on the button ![]() .
.
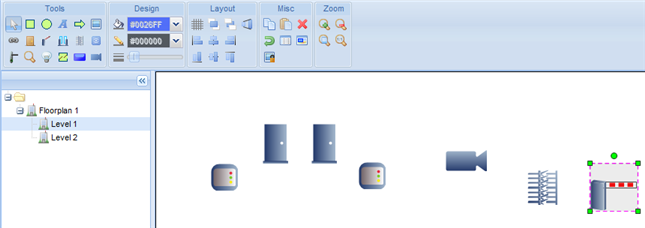
3.We have the following options available to make a floor plan:
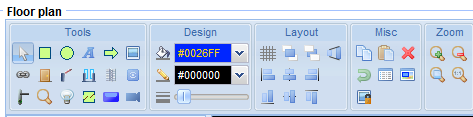
Note: By clicking with the mouse pointer on an icon, the explanation of it appears.
4.You can make different floor plans.
For example:

You double click on "Page 1" and you give a description to your floorplan. You can resize the floorplan and next you click on "Apply".

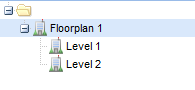
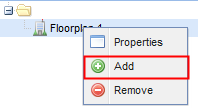
When you still want to split up the floorplan in separate floorplans, for example "Level 1" and "Level 2", then we click on the name of the floorplan and we click on the right mouse button: "Add".
In this way the floorplan appears with the two layers underneath: "Level 1" and "Level 2". Each time we click on the name of the floorplan, the view to make the floorplan appears on the right side of the screen.